Surfboard Waxing 101: Keeping Your Hands Together
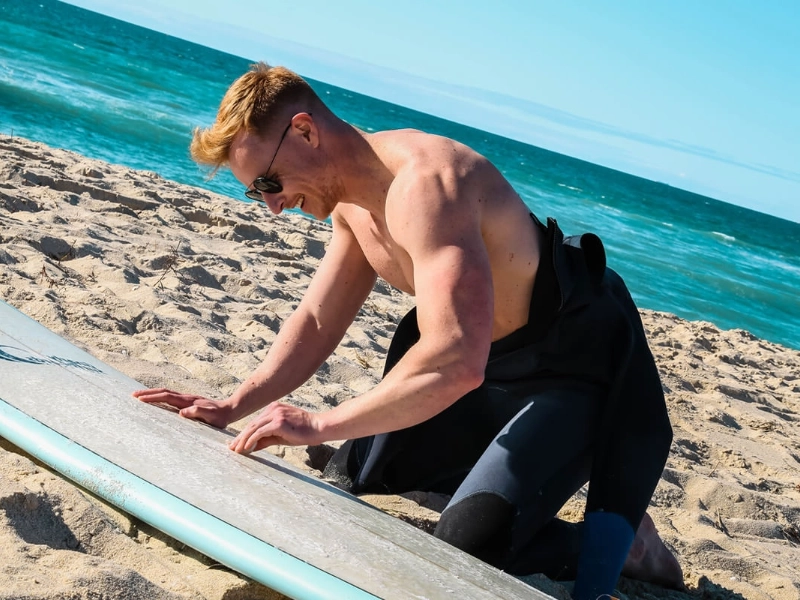
Effective traction on your surfboard depends on a well-done wax job. Inadequate execution, however, will make it heavy and make your board unresponsive in the water. Apply a base coat of wax first, making sure it's the same temperature as the water you plan to surf. Rub it in a circular manner across your board's deck.
Using the Wax
Using the Wax for Temperature
 The first step is usually to give the board a thorough cleaning, regardless of whether you are buying a new surfboard, maintaining your old one, or just re-waxing for the first time in a while. If you leave old, dirty wax on your board, it will smear and affect the quality of the subsequent coat.
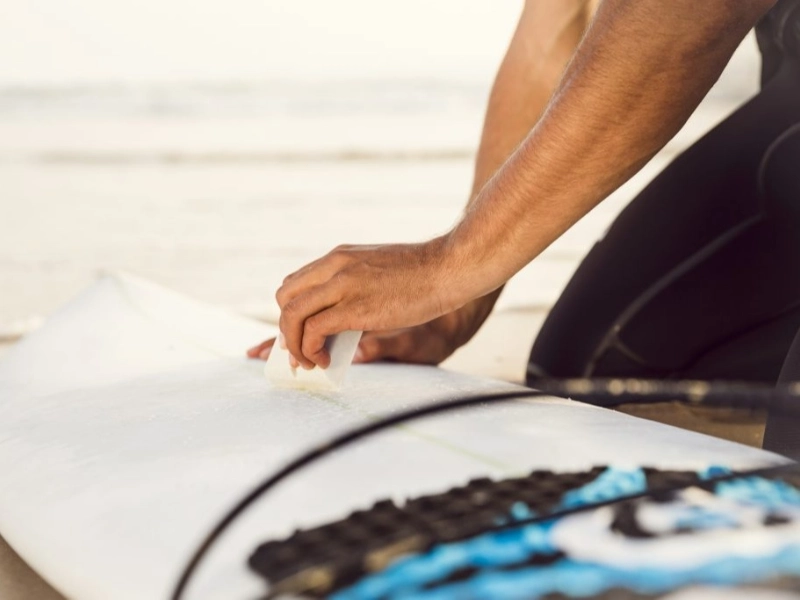
Start by covering your surfboard with a layer of base wax after cleaning it. Because it is less abrasive, the top temperature wax can stick to it more readily.
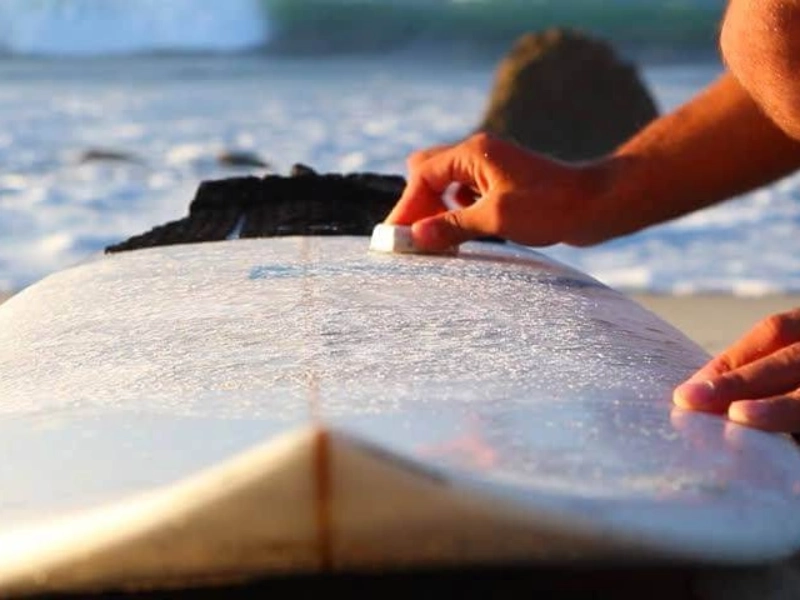
Starting at the tail area and working your way towards the nose, evenly coat the whole deck of your board with a thin layer of base wax. Once you've applied a sufficient coating of base wax, start building on the tiny traction bumps you made in step 1 by using a circular motion with a little bit more pressure. Continue working until your board's entire deck is covered in bumps that are roughly 1 millimetre high.
The first step is usually to give the board a thorough cleaning, regardless of whether you are buying a new surfboard, maintaining your old one, or just re-waxing for the first time in a while. If you leave old, dirty wax on your board, it will smear and affect the quality of the subsequent coat.
Start by covering your surfboard with a layer of base wax after cleaning it. Because it is less abrasive, the top temperature wax can stick to it more readily.
Starting at the tail area and working your way towards the nose, evenly coat the whole deck of your board with a thin layer of base wax. Once you've applied a sufficient coating of base wax, start building on the tiny traction bumps you made in step 1 by using a circular motion with a little bit more pressure. Continue working until your board's entire deck is covered in bumps that are roughly 1 millimetre high.
Mixing the Wax
 Having a solid grip on your surfboard requires wax. But an excessive amount of wax might make the board heavier and less tractional. When you feel the board getting slow, it's time to scrape off the old wax and apply a fresh coat.
One common method of removing old wax from a board is to heat it in the sun until it softens, and then use a wax scraper (which resembles a credit card) to remove the wax layer. Acetone or regular flour can also be used to aid in the removal procedure.
Depending on the temperature of the water you want to surf in, you can apply a topcoat of wax after applying the base layer. During a session, the topcoat, which is softer than the base coat, keeps your feet stuck to the board. The top coat can be applied in any desired pattern. To help them recognise their board, some surfers like to write their name in the wax.
Having a solid grip on your surfboard requires wax. But an excessive amount of wax might make the board heavier and less tractional. When you feel the board getting slow, it's time to scrape off the old wax and apply a fresh coat.
One common method of removing old wax from a board is to heat it in the sun until it softens, and then use a wax scraper (which resembles a credit card) to remove the wax layer. Acetone or regular flour can also be used to aid in the removal procedure.
Depending on the temperature of the water you want to surf in, you can apply a topcoat of wax after applying the base layer. During a session, the topcoat, which is softer than the base coat, keeps your feet stuck to the board. The top coat can be applied in any desired pattern. To help them recognise their board, some surfers like to write their name in the wax.
Using the Upper Coat
 You'll need to wait for the base wax to completely dry before beginning to apply the top layer. First, use a wax comb or scraper to remove any old, oily, or dirty wax from the board (commercial items exist that make this operation much faster and easier).
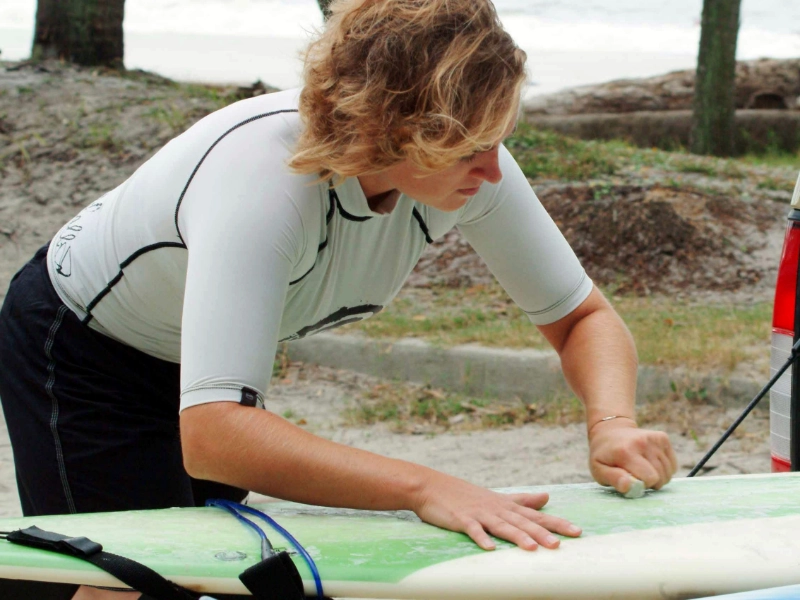
After cleaning your board, use the same cross-hatch pattern to apply the topcoat as you used for the base coat. Your feet will be able to grip the textured surface created by this, which will assist you stay steady while surfing.
It's vital to apply the top layer lightly regardless of whether you choose to rub the wax in circles or in a cross-hatch pattern. The bumps will smear and provide you with less traction than they should if you exert excessive pressure. It's best to go slowly and work your way from nose to tail or from rail to rail until you have a uniform covering of bumps.
You'll need to wait for the base wax to completely dry before beginning to apply the top layer. First, use a wax comb or scraper to remove any old, oily, or dirty wax from the board (commercial items exist that make this operation much faster and easier).
After cleaning your board, use the same cross-hatch pattern to apply the topcoat as you used for the base coat. Your feet will be able to grip the textured surface created by this, which will assist you stay steady while surfing.
It's vital to apply the top layer lightly regardless of whether you choose to rub the wax in circles or in a cross-hatch pattern. The bumps will smear and provide you with less traction than they should if you exert excessive pressure. It's best to go slowly and work your way from nose to tail or from rail to rail until you have a uniform covering of bumps.